Learning how to draw a bucket hat is more than just sketching a circle with a brim it's about understanding shape, proportion, fabric flow, and perspective. Whether you're creating character art, designing fashion concepts, or practicing realistic clothing sketches, mastering the bucket hat will strengthen your overall drawing skills. In this complete guide, you'll discover everything you need: from basic outlines to shading techniques, stylization, and even how to draw a bucket hat from various angles.
Why Learn to Draw a Bucket Hat?
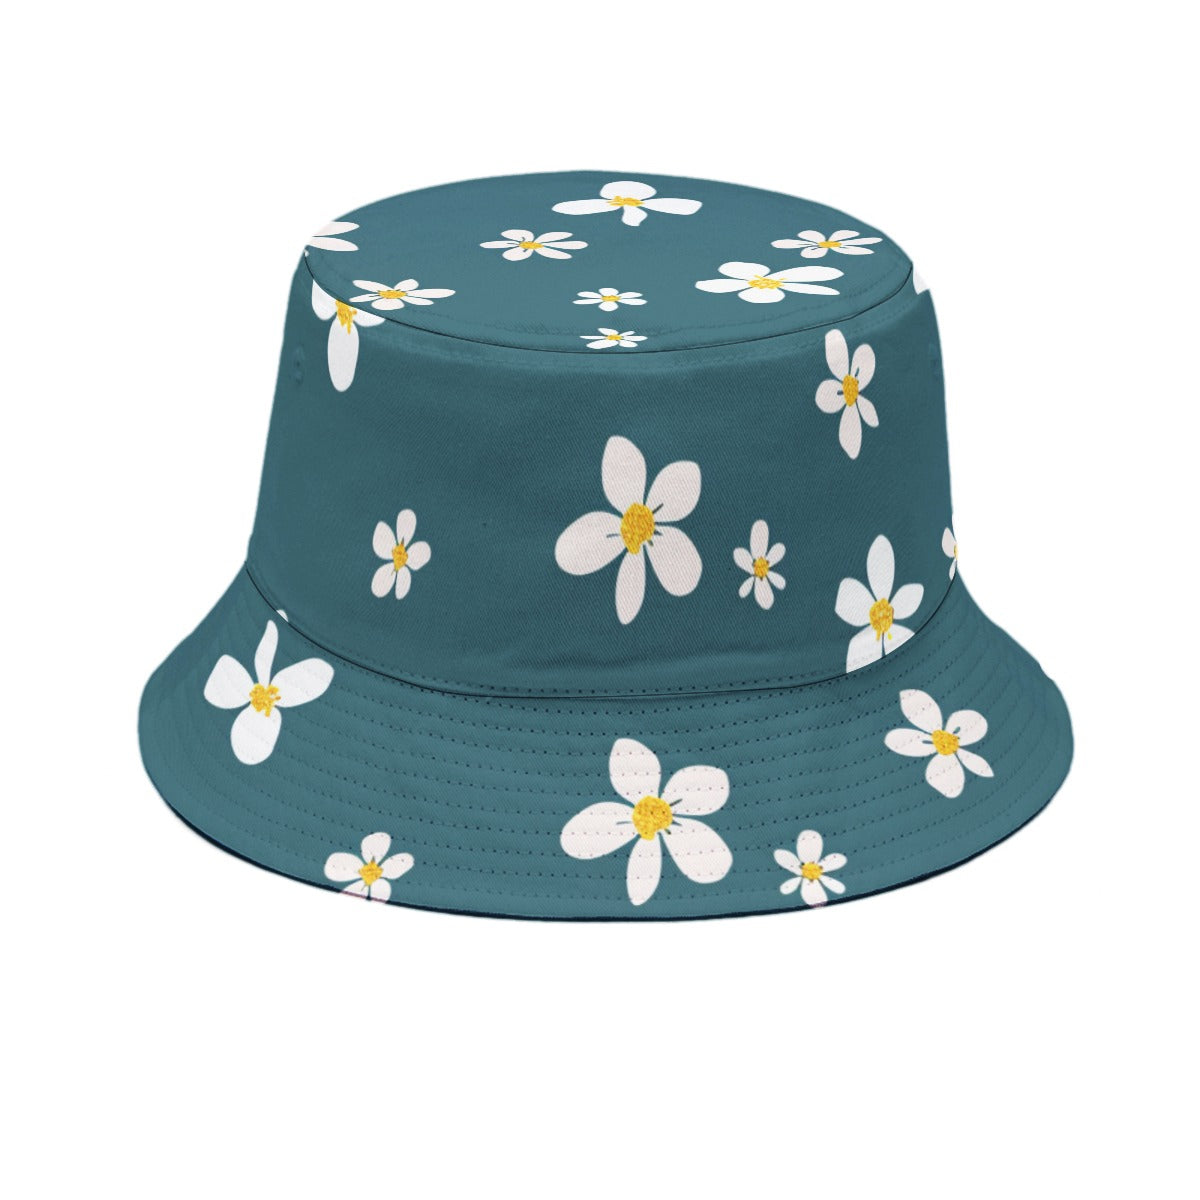
A bucket hat may seem simple, but it's a fantastic exercise in drawing soft structures and cylindrical forms. The hat’s crown, sloping brim, and flexible fabric present unique challenges that require an understanding of both geometry and texture.
Artists often overlook accessories in figure drawing or fashion sketching. Yet learning to properly draw items like a bucket hat adds realism and personality to your characters. A hat can suggest mood, time period, and style preferences.
Plus, the bucket hat’s increasing popularity in streetwear, illustration, and character design makes it a relevant and practical subject for digital and traditional artists alike.

Tools You Need to Draw a Bucket Hat
Before you begin, it’s important to gather the right tools whether you’re drawing digitally or on paper.
-
For traditional drawing, use a pencil (HB or 2B), eraser, ruler, and smooth paper.
-
For digital drawing, apps like Procreate, Clip Studio Paint, or Photoshop are excellent. Use a round brush with medium hardness for outlines.
You'll also want a reference image a bucket hat worn on a head, on a mannequin, or flat. Understanding how the fabric behaves is key. Reference helps you observe realistic folds, stitch lines, and structure.
Finally, prepare to sketch lightly at first. Don’t worry about perfection. The goal is to build shape and accuracy step by step.
Understanding the Structure of a Bucket Hat
A well-drawn bucket hat starts with understanding its anatomy. The hat typically consists of:
-
A cylindrical crown: This is the part that fits around the head.
-
A wide, downward-sloping brim: Unlike a baseball cap, the brim goes all the way around.
-
Seam lines and panels: Most bucket hats have vertical seams and circular top stitching.
-
Fabric folds and texture: The hat is usually soft, so it doesn’t always sit rigidly.
Think of the crown as a short cylinder. The brim is a downward flaring ring it curves with gravity. Knowing how light hits the crown and brim helps in shading later on.
Mastering this structure is vital to drawing the hat from different angles and with believable fabric behavior.
Step-by-Step Guide: How to Draw a Bucket Hat (Front View)

Let’s start with the basic front-facing view, which is the easiest angle for beginners. Follow these steps carefully:
Step 1: Draw the Basic Guidelines
Begin by sketching a horizontal ellipse this is the top of the crown, seen from slightly above. Then draw two vertical lines downward from the sides, forming the cylinder of the crown.
Next, draw another, larger ellipse below, slightly curved upward. This will be the brim's bottom edge. It should flare out wider than the crown.
Use light pencil pressure or a low-opacity brush if digital. These guides will help you shape the hat precisely.
Step 2: Define the Crown
Now define the crown by connecting the vertical lines to the bottom ellipse. Curve the sides slightly inward to show the soft, slouchy nature of most bucket hats.
Add a curved top line to the ellipse for a rounded crown top, or keep it flat if drawing a stiffer style.
This is the basic skeleton of the hat you’re building a strong foundation to add depth and realism later.
Step 3: Add the Brim
Sketch the top edge of the brim just below the crown. It should mirror the shape of your lower ellipse, creating a ring-like structure. The outer brim line will curve downward and slightly outward.
Remember: the brim shouldn’t be symmetrical gravity makes it dip slightly more at the front. Make sure your lines reflect that soft tension.
You now have a solid outline of the bucket hat.
Adding Detail and Depth to Your Drawing

Outlining is just the start. Now it’s time to add life to your sketch with texture, stitching, folds, and shadows.
Add Stitching and Panels
Bucket hats usually have topstitching around the brim and vertical panels on the crown. Lightly draw vertical seam lines down the crown usually four to six sections.
For the brim, add concentric stitching lines that follow the curvature of the brim’s top surface. These curved lines help indicate 3D form.
Add Fabric Folds and Wrinkles
To show softness, add a few subtle folds around the base of the crown or on the brim. Use light, broken lines avoid overdoing it.
These details help sell the idea that the bucket hat is made of cloth, not plastic.
Light and Shadow
Pick a light source direction (e.g., top left). Shade the opposite side of the crown and the underside of the brim. The brim will usually cast a shadow on the forehead or upper face.
Use soft gradients for shadows, not harsh lines bucket hats rarely have sharp edges. For digital art, a soft airbrush works well. On paper, use gentle crosshatching.
How to Draw a Bucket Hat on a Head
Now let’s make things more realistic by placing the bucket hat on a head. This is useful for character design, fashion sketching, or portrait illustration.

Understanding Head Proportions
Start by sketching a basic head shape oval for the skull, lines for eyes, nose, and chin. The bucket hat sits low, often covering part of the forehead or eyebrows.
The crown will follow the curve of the skull but appear a bit looser. Place your top ellipse a little above the ears, angled slightly backward. This creates the illusion of depth and perspective.
Adapting the Brim to the Face
The brim must curve around the face and overlap the side of the head. Use ellipses to sketch this properly, keeping in mind the angle of the face. The brim closest to the viewer will look wider; the far side narrower.
Don’t forget shadows under the brim this is crucial for realism. Also, hair or ears may stick out slightly from beneath the hat.
How to Draw a Bucket Hat from Different Angles
Once you’ve mastered the front view, it’s time to challenge yourself by drawing a bucket hat from various angles. This includes the 3/4 view, profile (side) view, and top-down perspective. Practicing these angles will dramatically improve your understanding of form and depth.
3/4 View
In the three-quarter view, the face and head are turned slightly, revealing both the front and side of the hat. Start with a tilted ellipse for the crown’s top, then sketch the body of the crown using curved lines that follow the shape of the skull. The brim will be more extended on the near side and foreshortened on the far side, requiring careful ellipse placement.
This view is essential for character art because it adds dynamism and perspective. It also helps you practice asymmetry and depth two crucial skills for realism.

Side View (Profile)
For the side view, begin with a semi-ellipse for the top of the crown, and draw a rounded rectangle for the body. The brim appears like a curved arch, flaring out at the front and back.
Use reference images to understand how the brim curves downward while still following the head's form. The side view highlights the hat's silhouette, making it ideal for fashion illustrations or branding sketches.

Top-Down Perspective
In a top-down view, the entire top of the crown is visible as a full ellipse. The sides of the crown taper away in perspective, and the brim appears as a wide, circular band.
This is useful for overhead compositions or flat-lay sketches, where you need to show the shape without facial features.

Common Mistakes When Drawing Bucket Hats
Even experienced artists can fall into traps when drawing hats. Here are the most common bucket hat drawing mistakes and how to fix them:
Mistake 1: Incorrect Proportions
A common error is drawing the brim too wide or the crown too tall, making the hat look unrealistic. Always use references, and remember: the crown typically only covers the top ⅓ of the head vertically. The brim should follow the contour of the face, flaring slightly without becoming exaggerated unless you’re going for a stylized look.

Mistake 2: Flat-Looking Hats
If your hat looks flat, you’re probably missing volume-indicating lines. These include curvature in your brims, topstitching, or even subtle shading. Using light guidelines and practicing with simple cylinders and ellipses will help fix this.

Mistake 3: Misplaced Shadows
Without proper shading, the hat may appear to float or feel detached. Always identify the light source and apply shadows to the opposite side. Don’t forget the cast shadow beneath the brim, especially when the hat is on a head.

Correcting these mistakes will instantly add realism and weight to your drawing.
Stylized vs. Realistic Bucket Hat Drawing
Your approach will change depending on whether you’re drawing in a stylized or realistic manner. Both are valid, but they require different techniques and intentions.
Stylized Bucket Hat
In stylized art such as cartoons, anime, or comic books the bucket hat is simplified into clear, recognizable shapes. The lines are bolder, the brim might be exaggerated, and texture is implied with minimal detail. Use fewer folds, and focus on silhouette and placement.
This method is ideal for character design, especially when your goal is clarity or animation-friendly proportions. Even with fewer details, maintain accurate structure so the hat reads well from all angles.
Realistic Bucket Hat
For realism, you’ll use more gradual shading, attention to fabric type, and fine stitch details. Reference is critical here observe how corduroy differs from denim or nylon. Fabric folds are more nuanced, and shadow transitions are softer.
Realistic drawings benefit from taking time with layered pencil shading or digital painting, and using real hats or photographs for depth cues.
Choosing your approach depends on your end goal fashion concept, portrait, editorial, or animation.

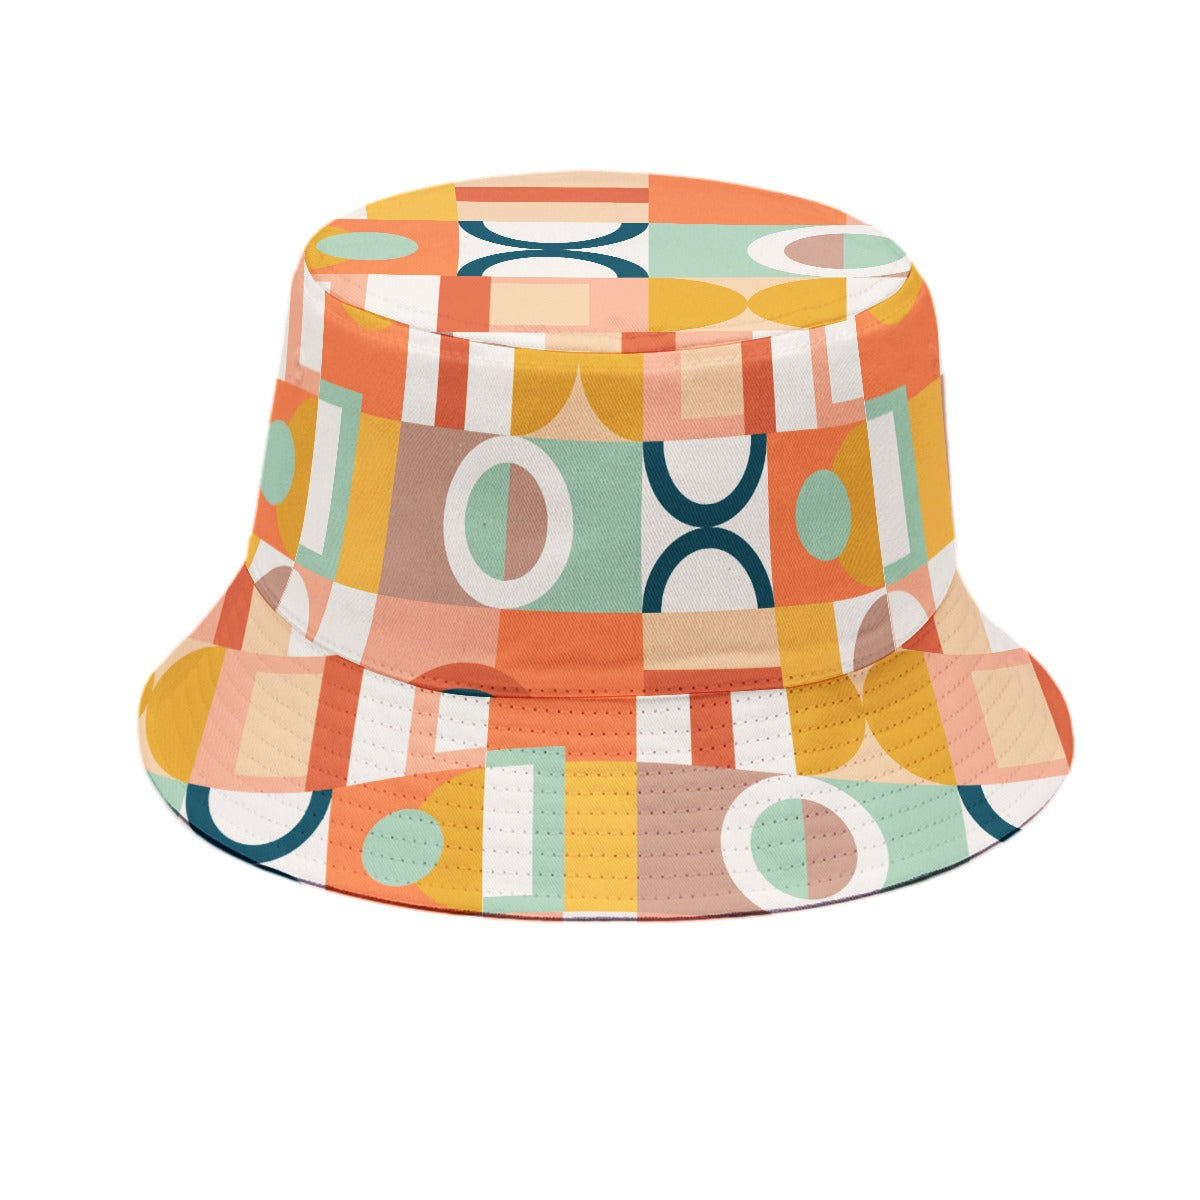
Drawing Bucket Hats with Different Fabrics
Not all bucket hats are made of the same material. Knowing how to render various textures will bring authenticity to your sketch. Here's how to tackle some popular fabrics:
Cotton or Canvas
The most common bucket hats are made of canvas or cotton twill. These materials hold shape but also wrinkle naturally. Use slight fold lines near the seams, soft shadowing, and topstitch detailing. They don’t shine, so keep your highlights subtle.
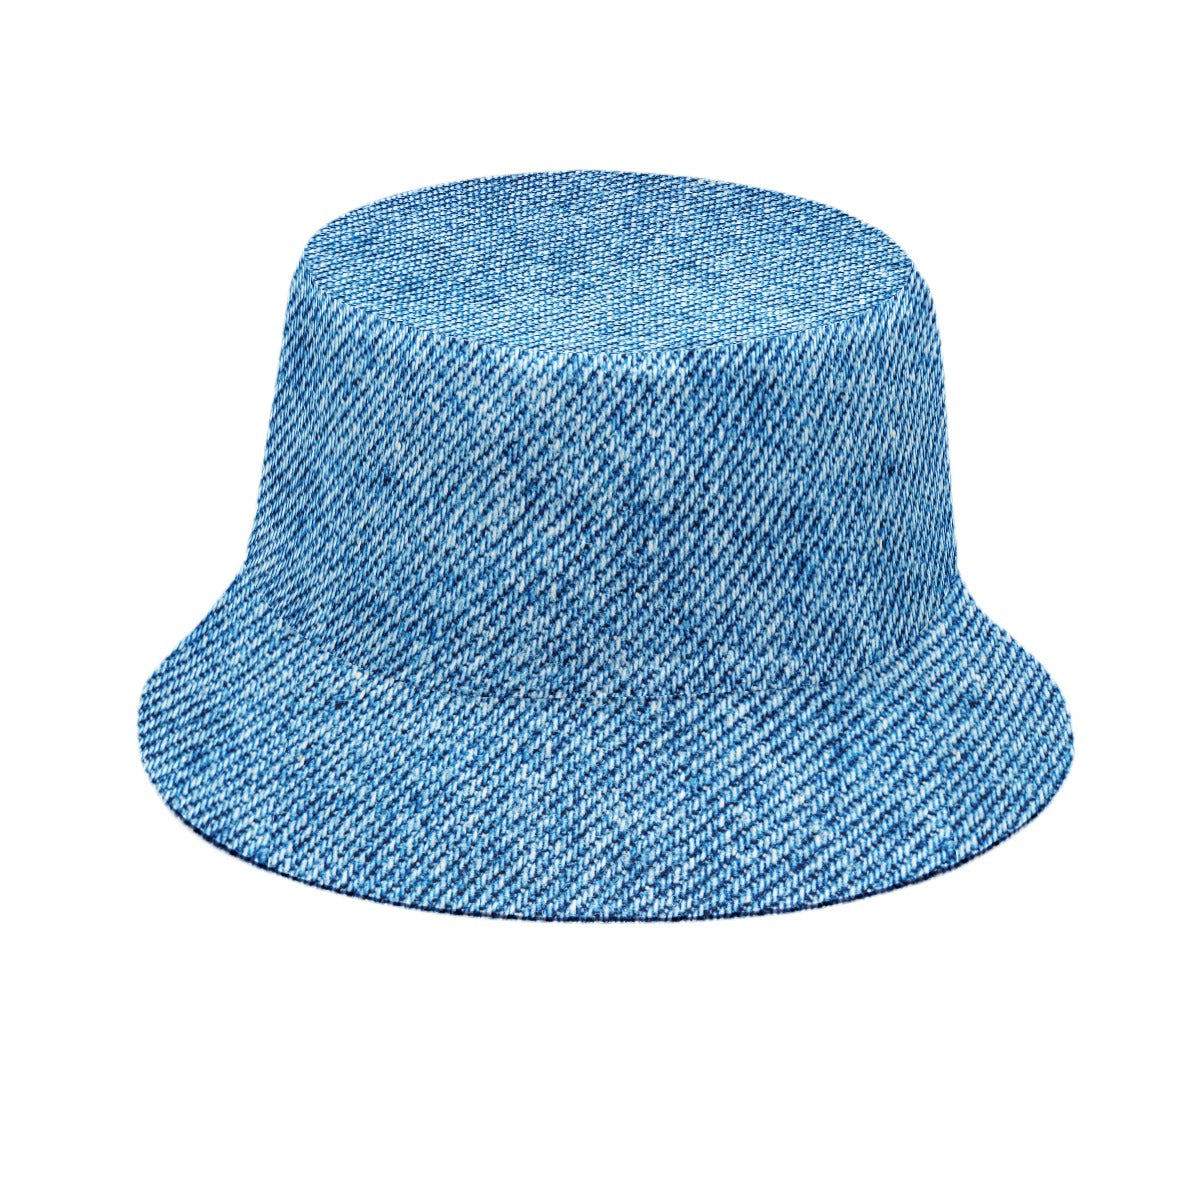
Denim
Denim bucket hats are thicker and heavier. Add weight by making folds deeper and adding bold seams. Show the fabric grain by using light cross-hatching or stippling. Denim absorbs light, so reduce contrast in your shading.
Nylon
For a nylon hat, focus on reflectivity. Nylon catches light differently often in sharp highlights along the brim and crown edges. Use high-contrast lighting and tighter rendering. Adding shine makes it appear smoother and more weatherproof.
Terry Cloth or Fleece
Terry cloth has a fuzzy, absorbent look perfect for summer/beach hats. Use textured shading with short, dot-like strokes to simulate its feel. Avoid sharp lines, and let the shape feel softer and puffier.
Matching your shading style to the fabric's behavior ensures your drawing doesn't just look like a hat but feels like one too.